 Skip to content
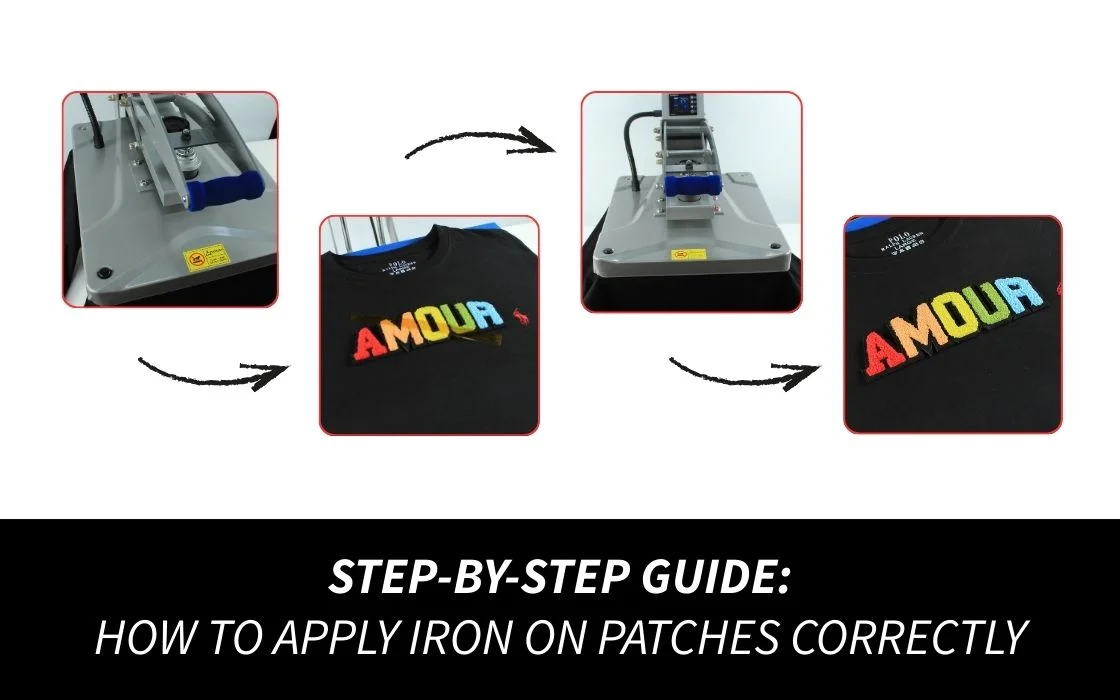
 Step-by-Step Guide: How to Apply Iron On Patches Correctly
Ever ruined a patch because it peeled off after one wash? Yes, it occurs much more often than people would like to admit. Wearing a patch is no harm. However, a slip may spoil all the hard work. In order to have your iron on patch stick well to look clean it is better to be more attentive to the method than to the iron.
Well, let’s explore that. Step by step

What You’ll Need Before You Start
The preparation of fabric needs to be done before heat is applied to it. This prevents damage to patches.
You will need:
- Iron
- Ironing Board
- Thin cotton fabric or parchment paper
- The garment
- Your patch
Quality matters too. Inexpensive adhesive backing wears out quickly. This is why most creators and brands prefer Quality Patches because it comes with a sure heat-activated stick that works.
Step 1: Choose the Right Fabric
Not every fabric is compatible with heat. Ideal are cotton, denim and canvas. Polyester blends are possible, but pure synthetics are dangerous.
Avoid:
- Nylon
- Silk
- Waterproof or heat-resistant fabrics
When the garment is not able to withstand heat, your iron on patch is also not able. Always examine the label of the clothing.
Step 2: Preheat the Iron (Steam OFF)
There is not much attention given to this section. It shouldn’t.
Turn the iron to a medium-high temperature (approximately 175 o C/350 F). Switch the steam option to its off position. The adhesive properties will be reduced and not activated by Steam.
During the heating of the iron, place the fabric on the surface, flatten and smooth it. Below the patch, there exist weak spots that are caused by wrinkles.
An iron on patch glue is activated by a heated iron. If it is too cold, it won’t stick. In case it is hot enough, one burns the material.
Step 3: Position the Patch Carefully
As soon as the heat begins, it cannot be changed.
Put the patch adhesive-side down. Double-check placement. Center it. Straighten it. Step back and look again.
You have no warning with that iron-on patch after you press it.
Cover the patch with a piece of parchment or cotton cloth that is very thin. Do not apply the hot iron to the patch surface directly.
Step 4: Apply Firm, Even Pressure
Press the iron firmly. Do not slide the iron.
Pressure should be applied between 15 and 20 seconds. Lift the iron. Go to a different location in case it is a big space. Apply pressure again.
This is an act of activating the sticky side of the iron-on patch. The most significant aspect of this stage is pressure, not motion.
An additional 5 seconds will be required in case you have a thick patch. Take your time.
This step is facilitated by good adhesives. This is one of the reasons why Quality Patches is trusted by a great number of customers.
Step 5: Let It Cool Completely
This part feels boring. But it’s critical.
Do not handle the patch immediately. Allow the patch to cool down (at least 2-3 minutes). This aids in the setting of the adhesive.
It is possible to apply a hot iron on patch immediately to minimize the bond.
After cooling, inspect the sides. Don’t tug on it. Just see if it will lift.
Step 6: Secure from the Back (Optional but Smart)
To add some more durability to it, turn the clothing inside out. Put the cloth back. Iron the other side of the cloth in which the patch is placed during 10-15 seconds.
This is to make your patch stick on ironing easier and this is most applicable to jackets, backpacks and items that are washed frequently.
This is mostly done by professionals.
Step 7: Washing Rules Matter
Give it time.
Wait 24 hours before washing the garment. When you do wash:
- Turn inside out
- Use cold water
- Avoid dryers if possible
Heat from dryers can soften adhesive over time. Even a well-applied iron on patch benefits from air drying.
Common Mistakes People Make
Let’s talk about what goes wrong.
- Using steam
- Sliding the iron instead of pressing
- Applying to the wrong fabric
- Washing too soon
- Cheap adhesive backing
Most patch failures aren’t user error alone. Often it’s poor patch quality. That’s why creators choose Quality Patches when they want patches that actually last.
A strong iron on patch should survive normal wear when applied correctly.
Can You Re-Iron a Patch If It Lifts?
Yes. Carefully.
If an edge lifts, reheat the area with the cloth on top. Apply firm pressure for 10–15 seconds. Let cool again.
Don’t overdo it. Too much heat damages both fabric and iron on patch.
If lifting continues, stitching the edges is the safest backup.
Best Items for Iron-On Application
Some items just work better.
Great choices:
- Denim jackets
- Canvas bags
- Cotton hoodies
- Work shirts
Items that struggle:
- Stretchy activewear
- Thin polyester
- Waterproof materials
Matching the right garment with the right iron on patch makes all the difference.

Why Patch Quality Changes Everything
You can follow every step perfectly and still fail if the patch is low quality.
Good patches have:
- Even adhesive coating
- Strong backing material
- Clean edges
- Heat-tested glue
That’s why businesses, brands, and creators trust Quality Patches for patches that apply smoothly and stay secure.
A well-made iron on patch feels solid before you even press it.
Final Tips for Long-Lasting Results
- Always test heat on scrap fabric
- Use steady pressure, not motion
- Let it cool fully
- Wash gently
- Choose quality over cheap
When done right, an iron on patch doesn’t just decorate clothing. It becomes part of it.
Bottom Line
Applying patches isn’t hard. But doing it right takes patience and the right materials. Follow the steps, respect the heat, and don’t rush the cooling stage.
And remember, the patch itself matters as much as the process. If you want clean edges, strong adhesive, and long-term wear, Quality Patches is a trusted place to start.
A properly applied iron on patch should look good and stay put for years, not just one wash.